Step 1: Open the Bag
Start by opening the seal on the top of the packaging.
Step 2: Remove from Bag
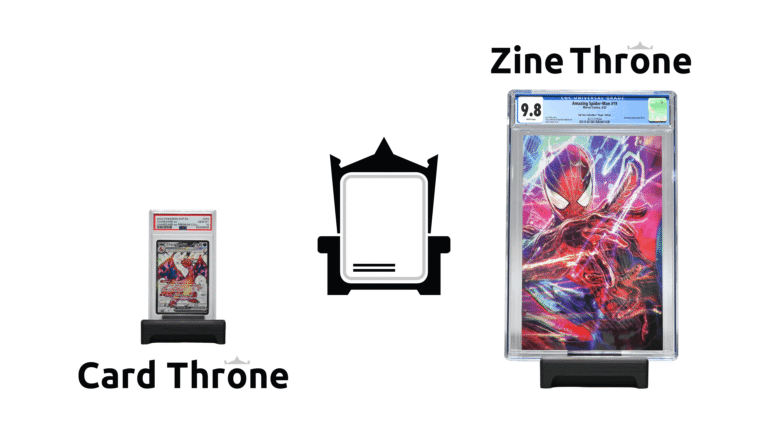
Take out the two main components and the hardware from the bag. You should have:
Step 3: Remove Nut and Prep the Base
Unscrew the hex nut from the back of the adjustment screw it’s pre-attached. Flip the T-shaped base over to find the hexagonal recessed slot. Place the nut into this slot. It is designed to fit snugly so it won’t spin when you tighten the screw.
Step 4: Attach the Throne to the Base
Align the screw from the Throne Back through the hole on the back. Guide the screw into the nut you just placed in the bottom slot. Tighten the knob by hand until the throne is securely attached to the base.
Tip: You can slide the throne forward or backward along the track before tightening to find your preferred viewing angle.
Step 5: Final Setup
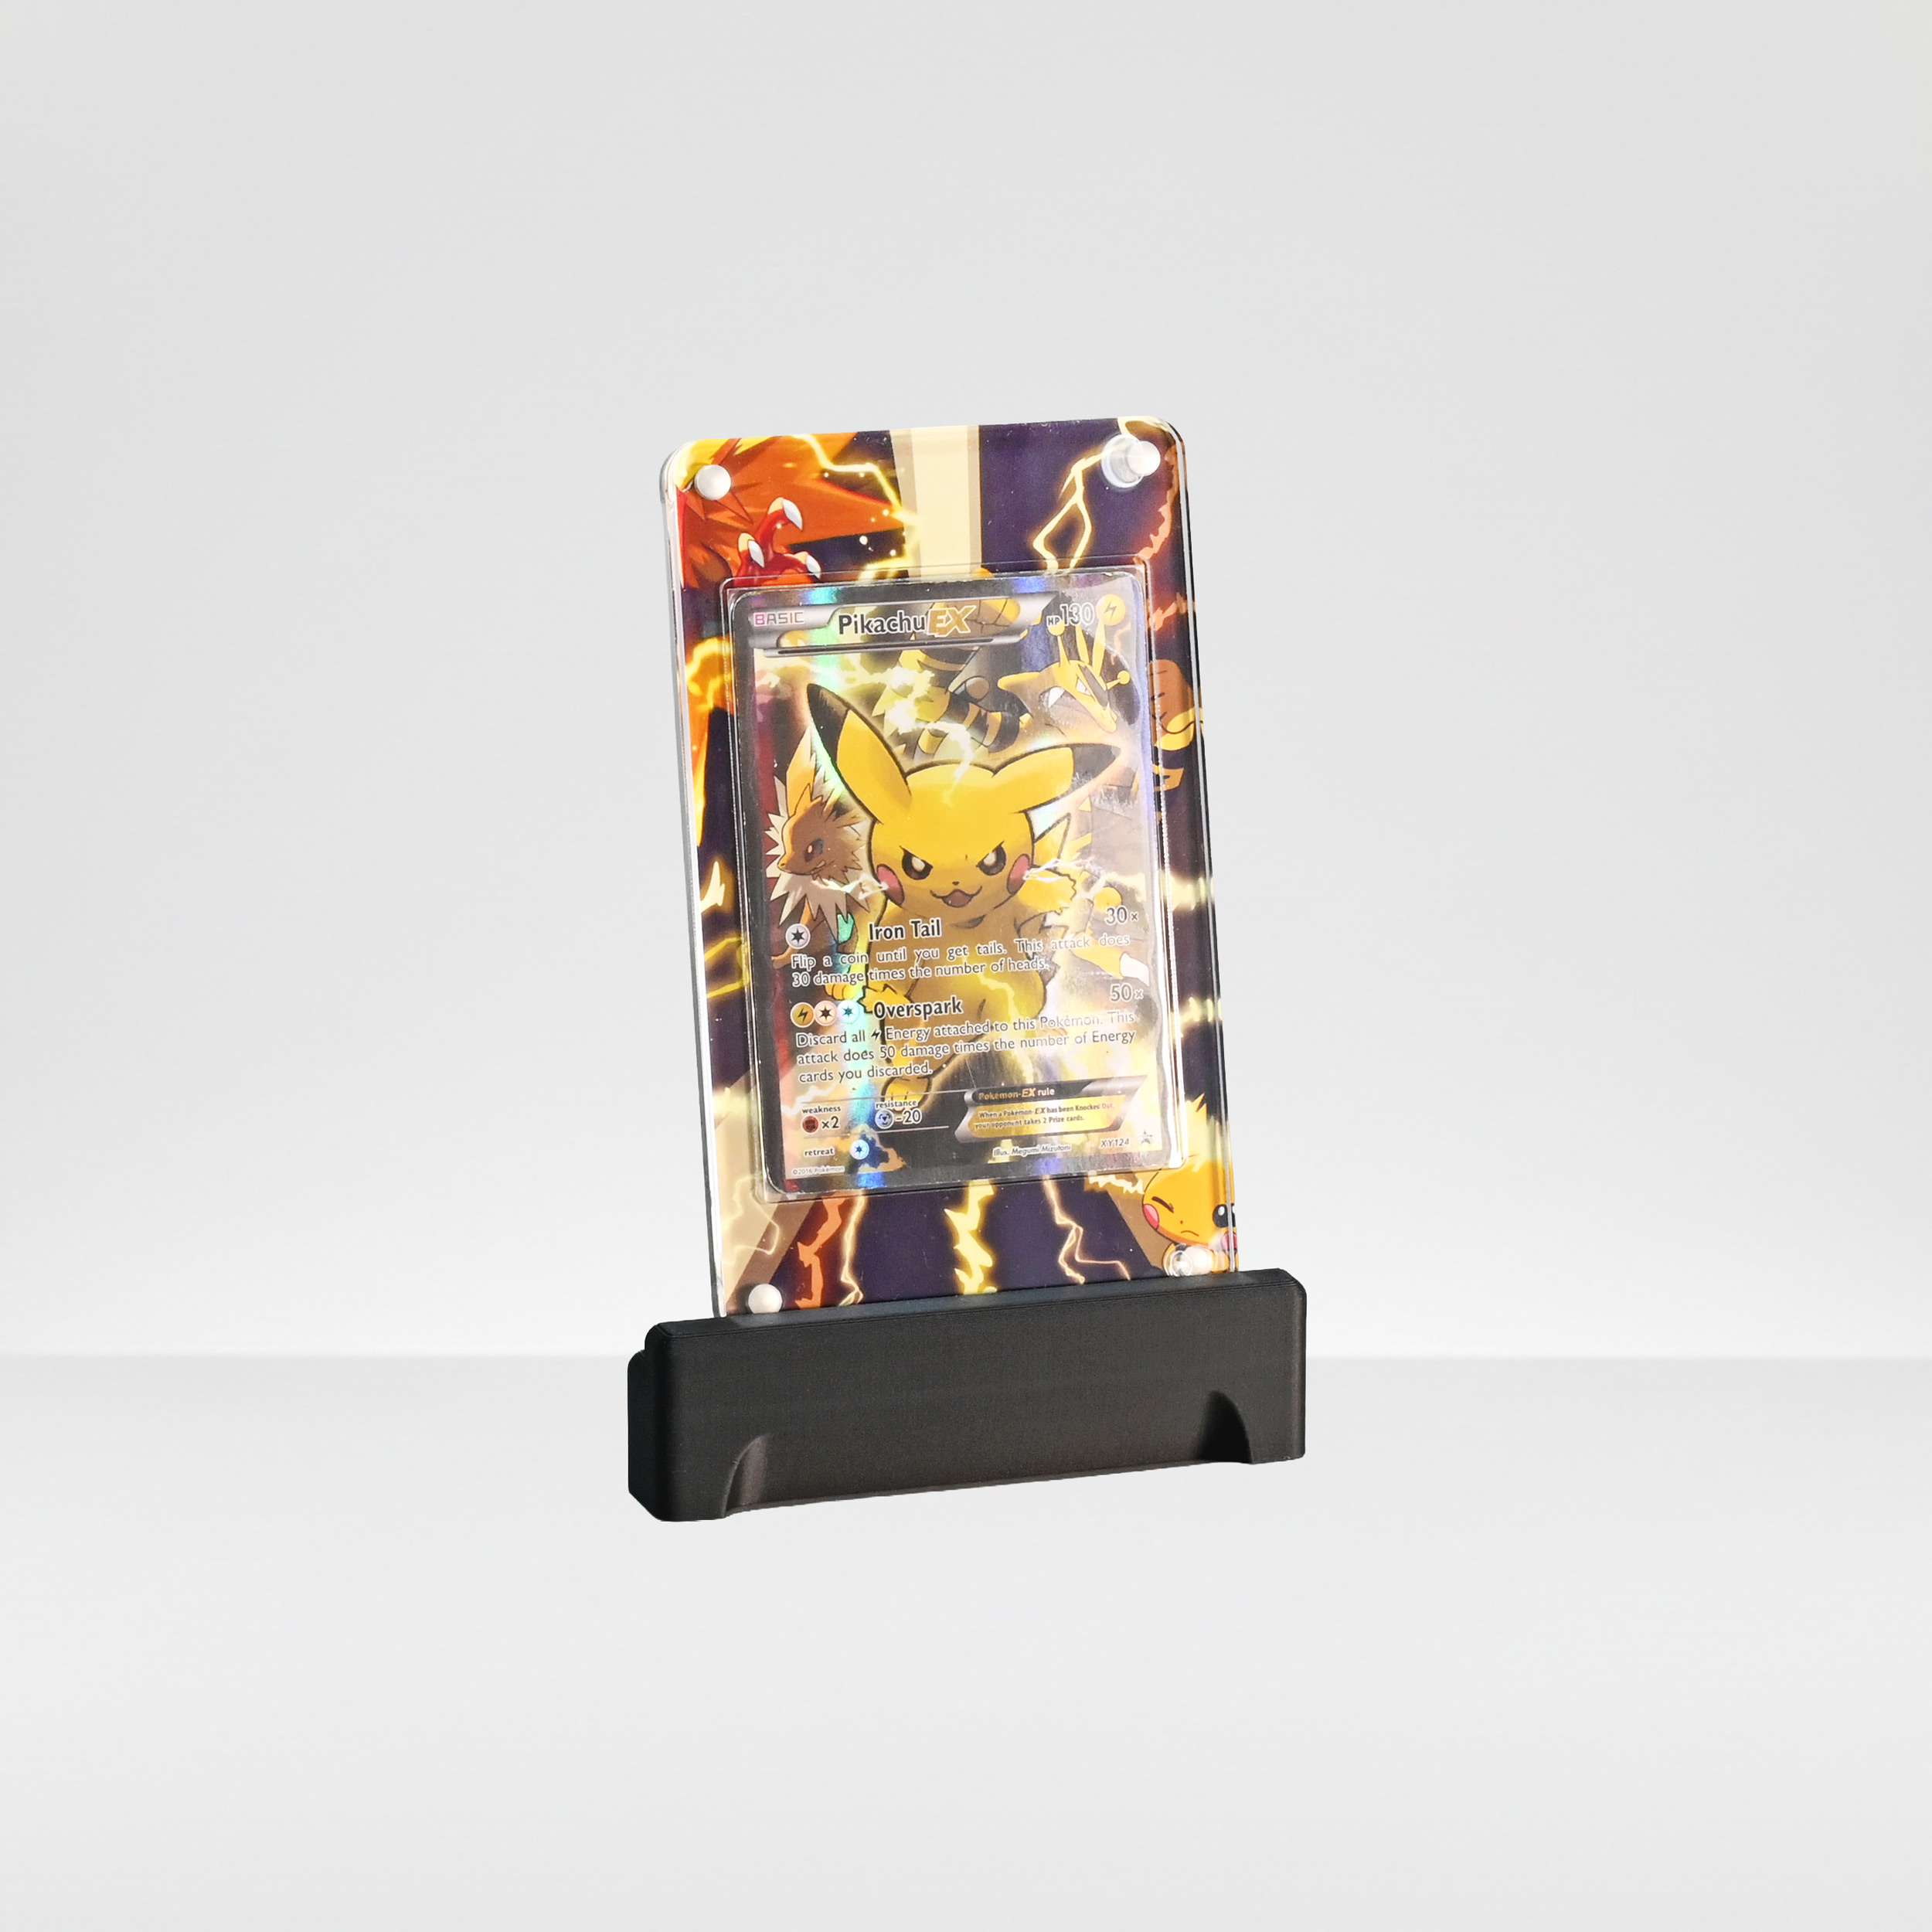
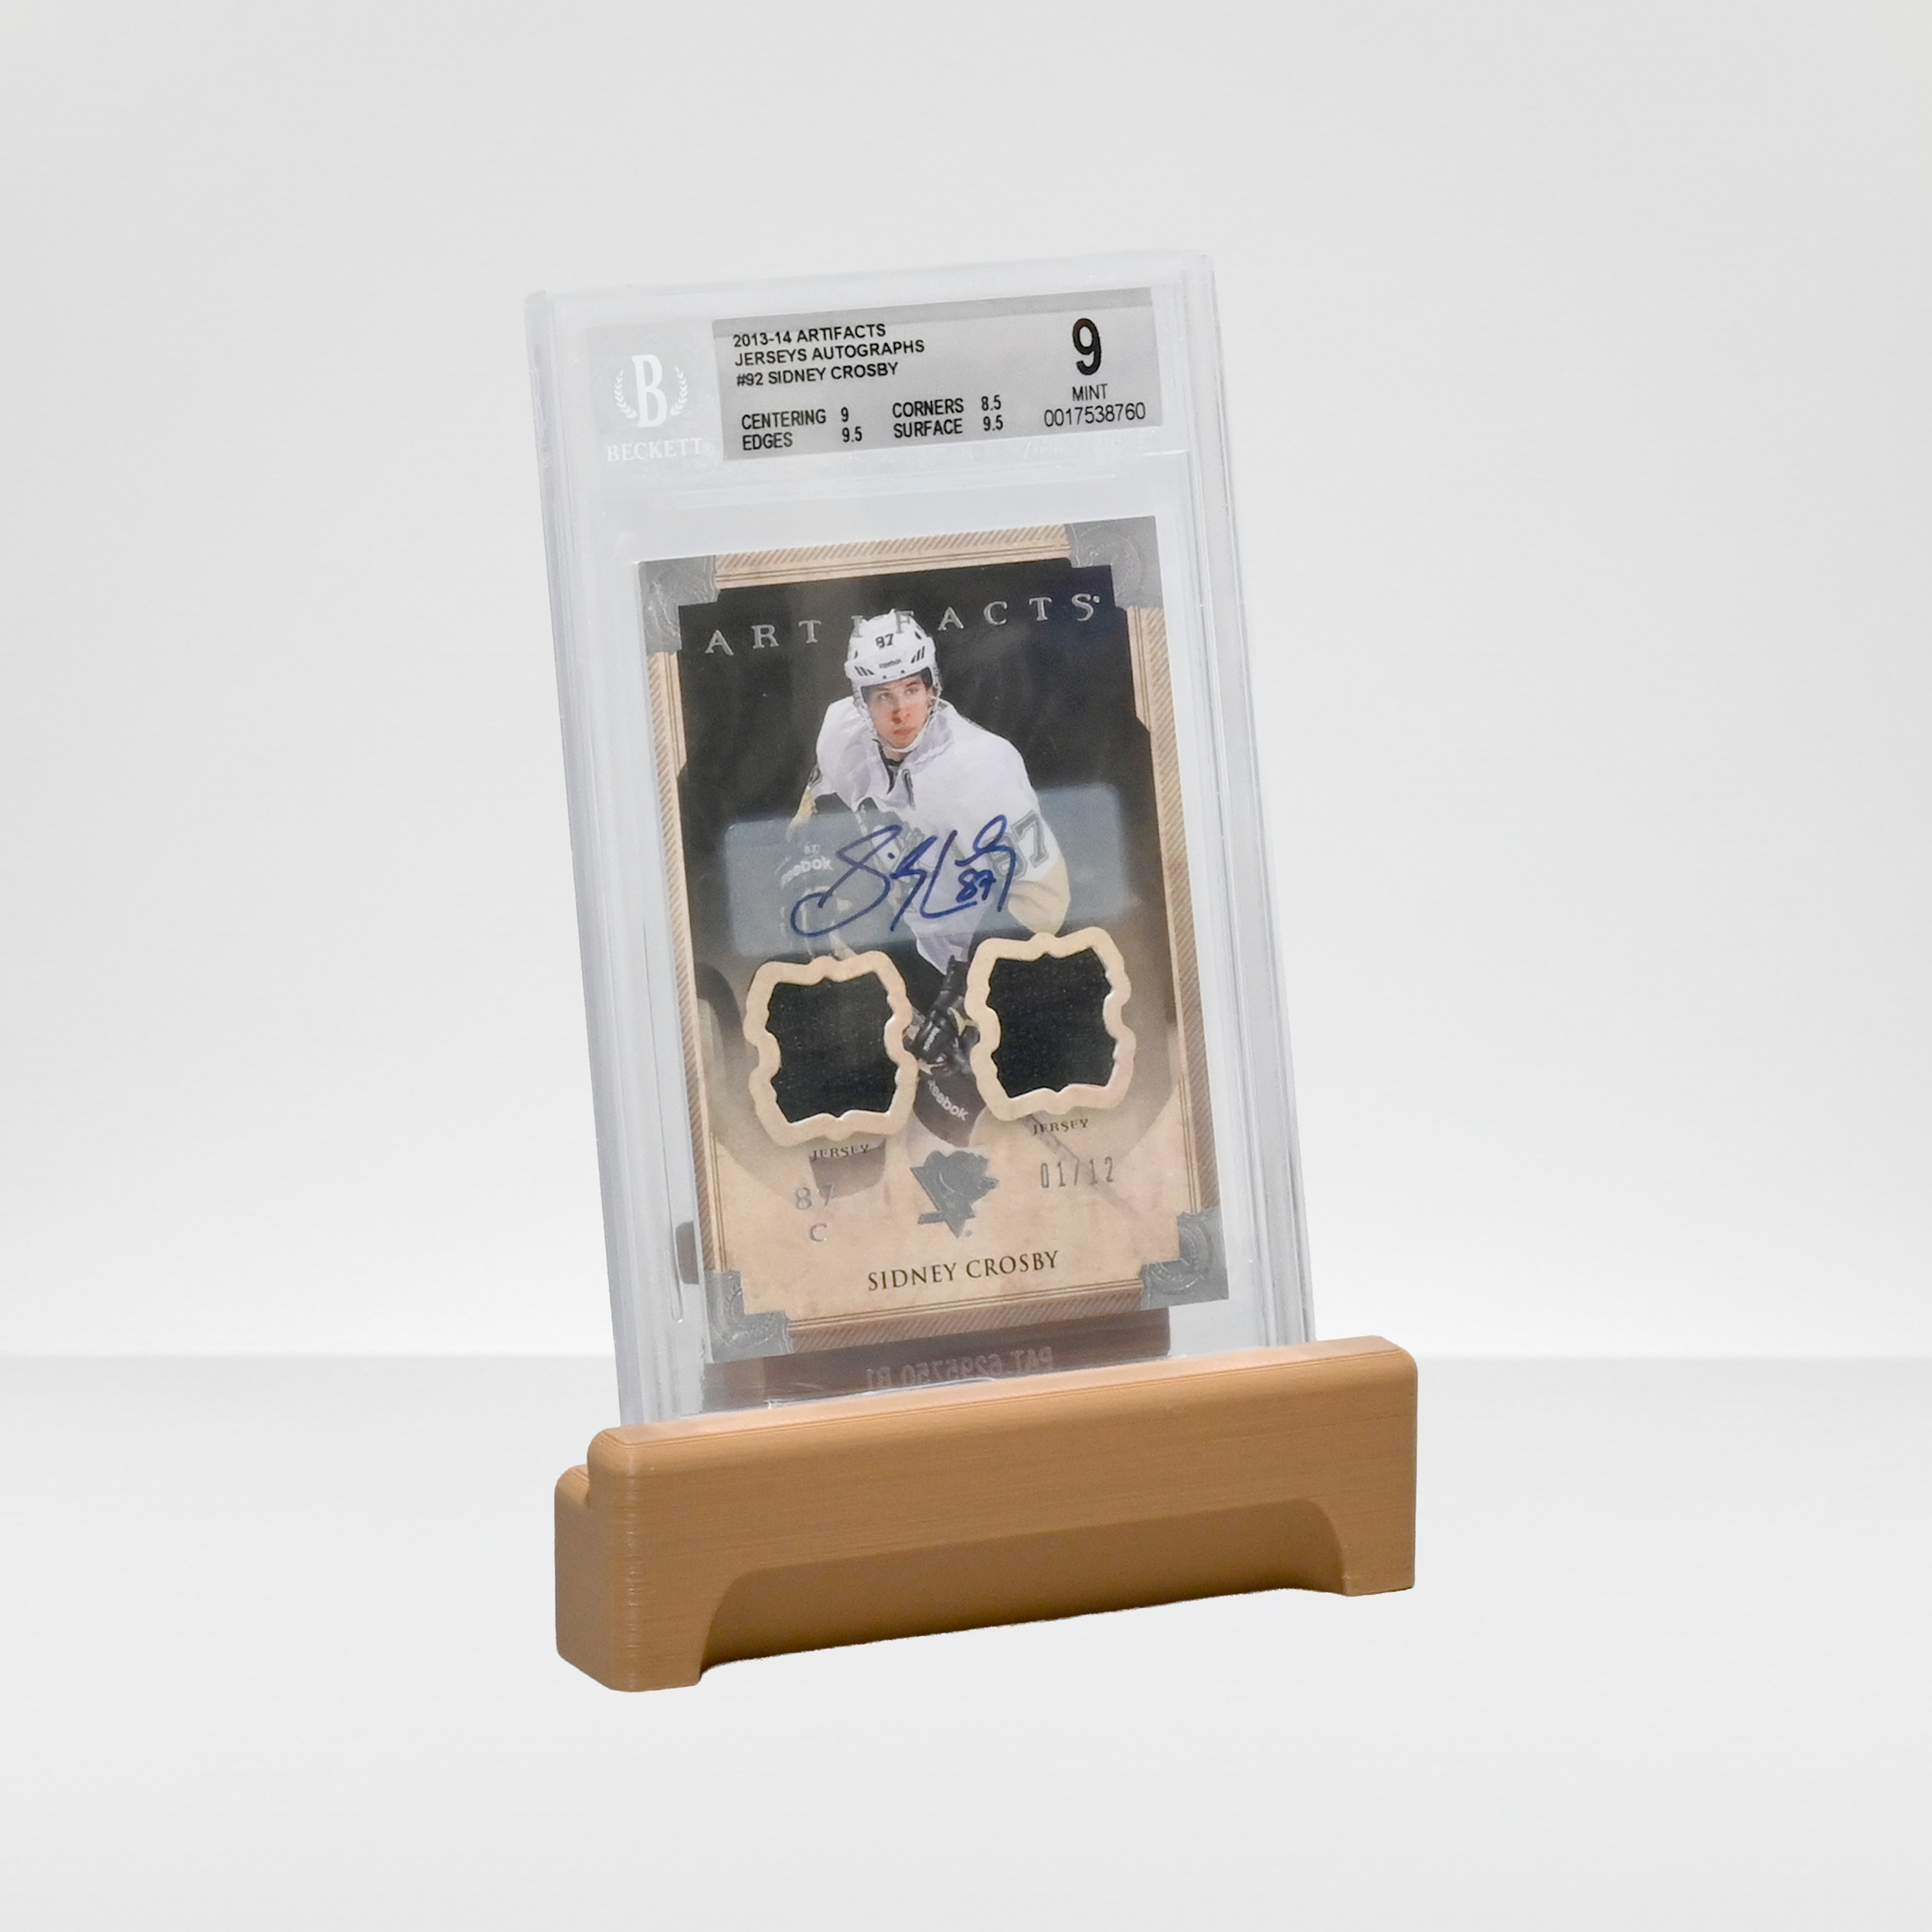
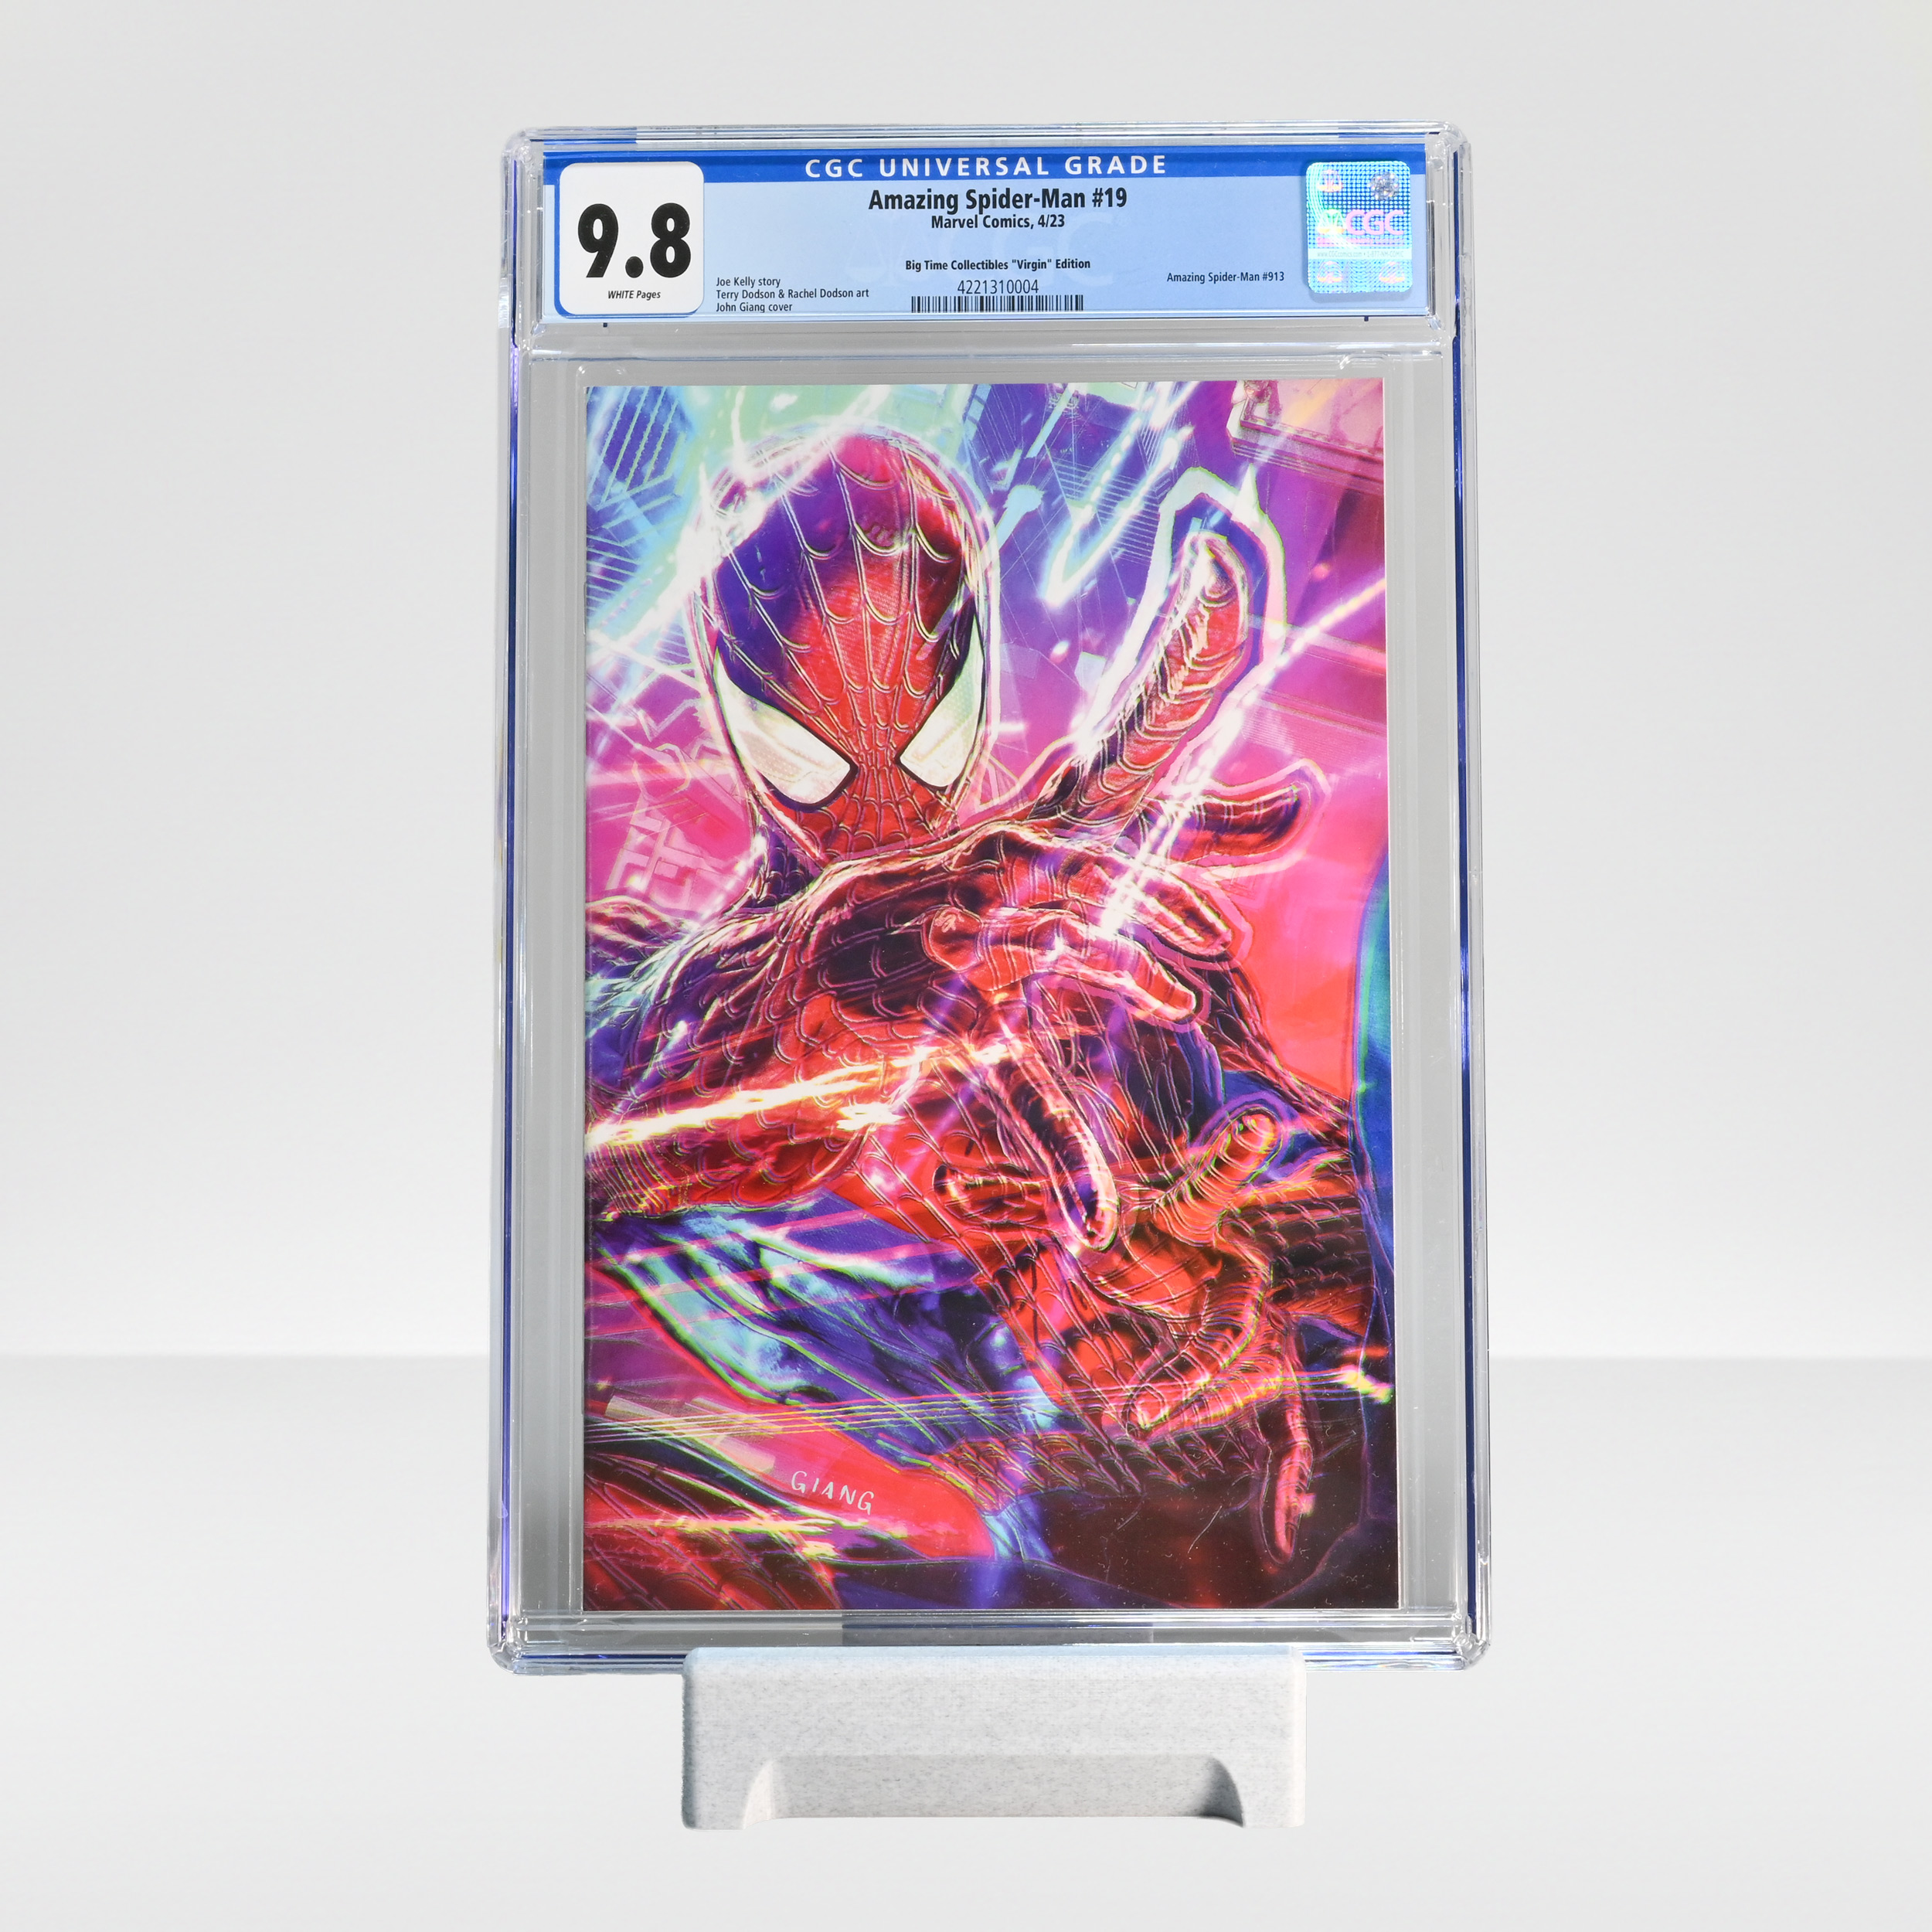
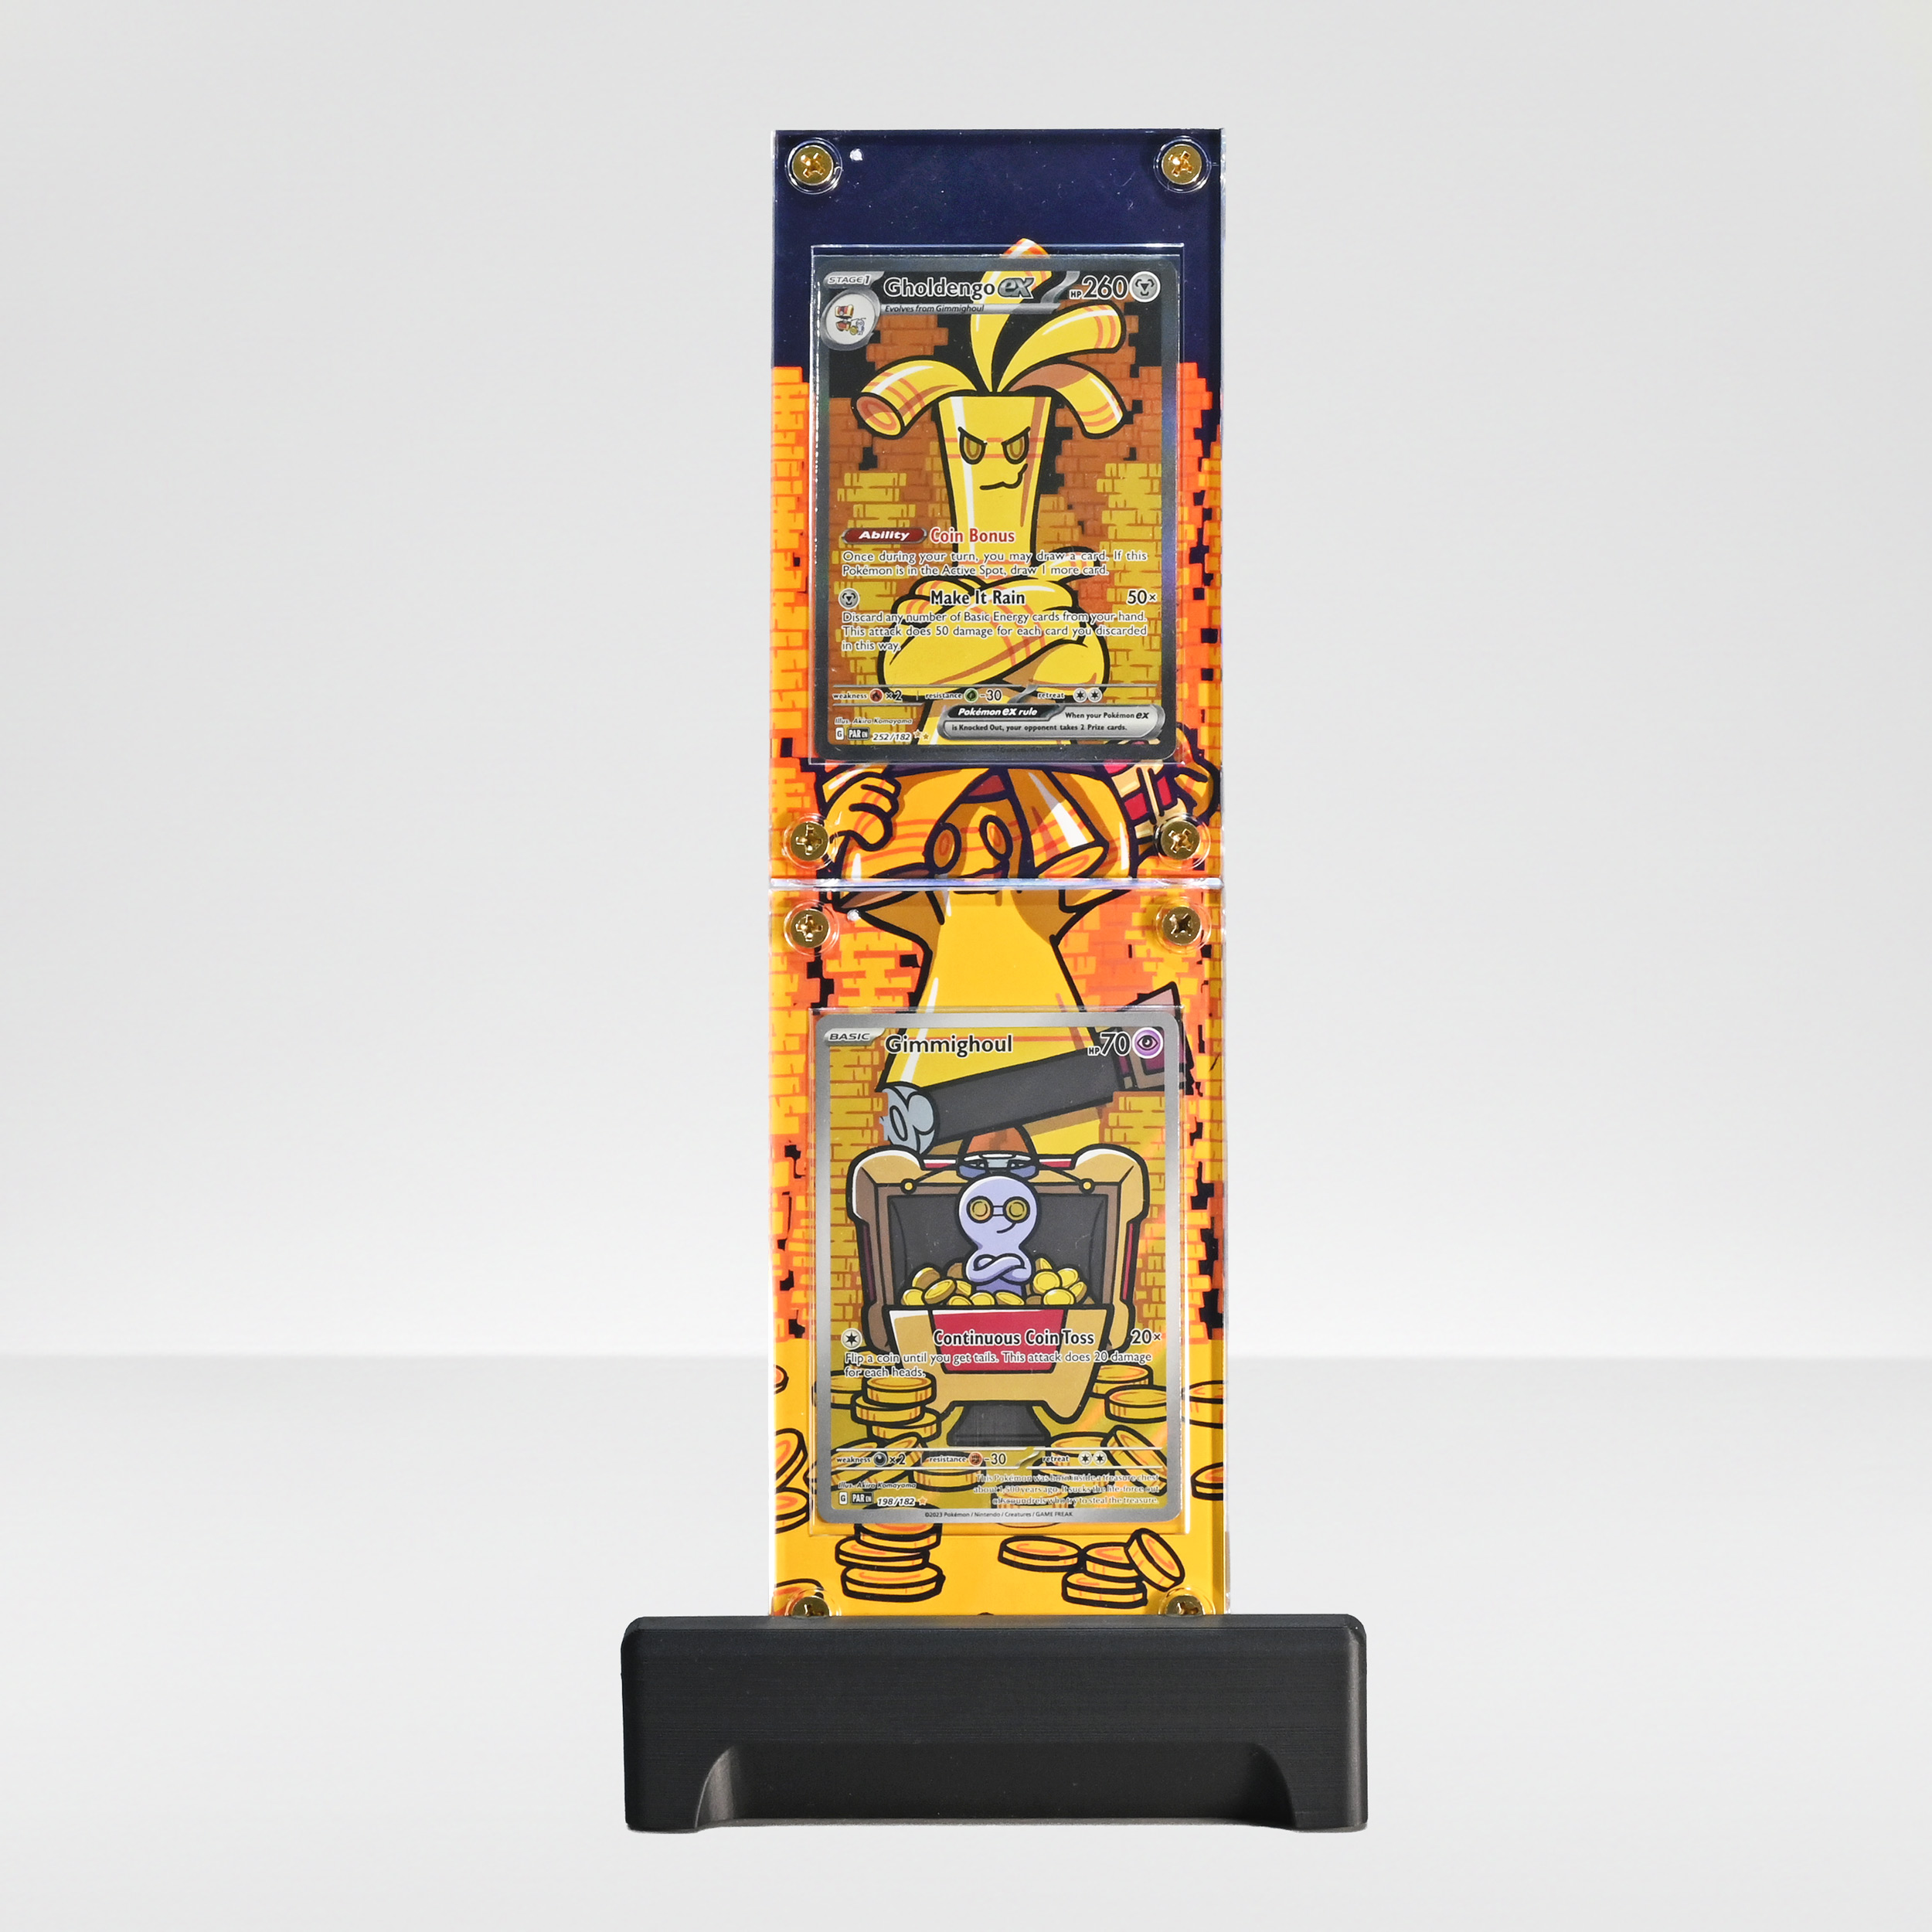
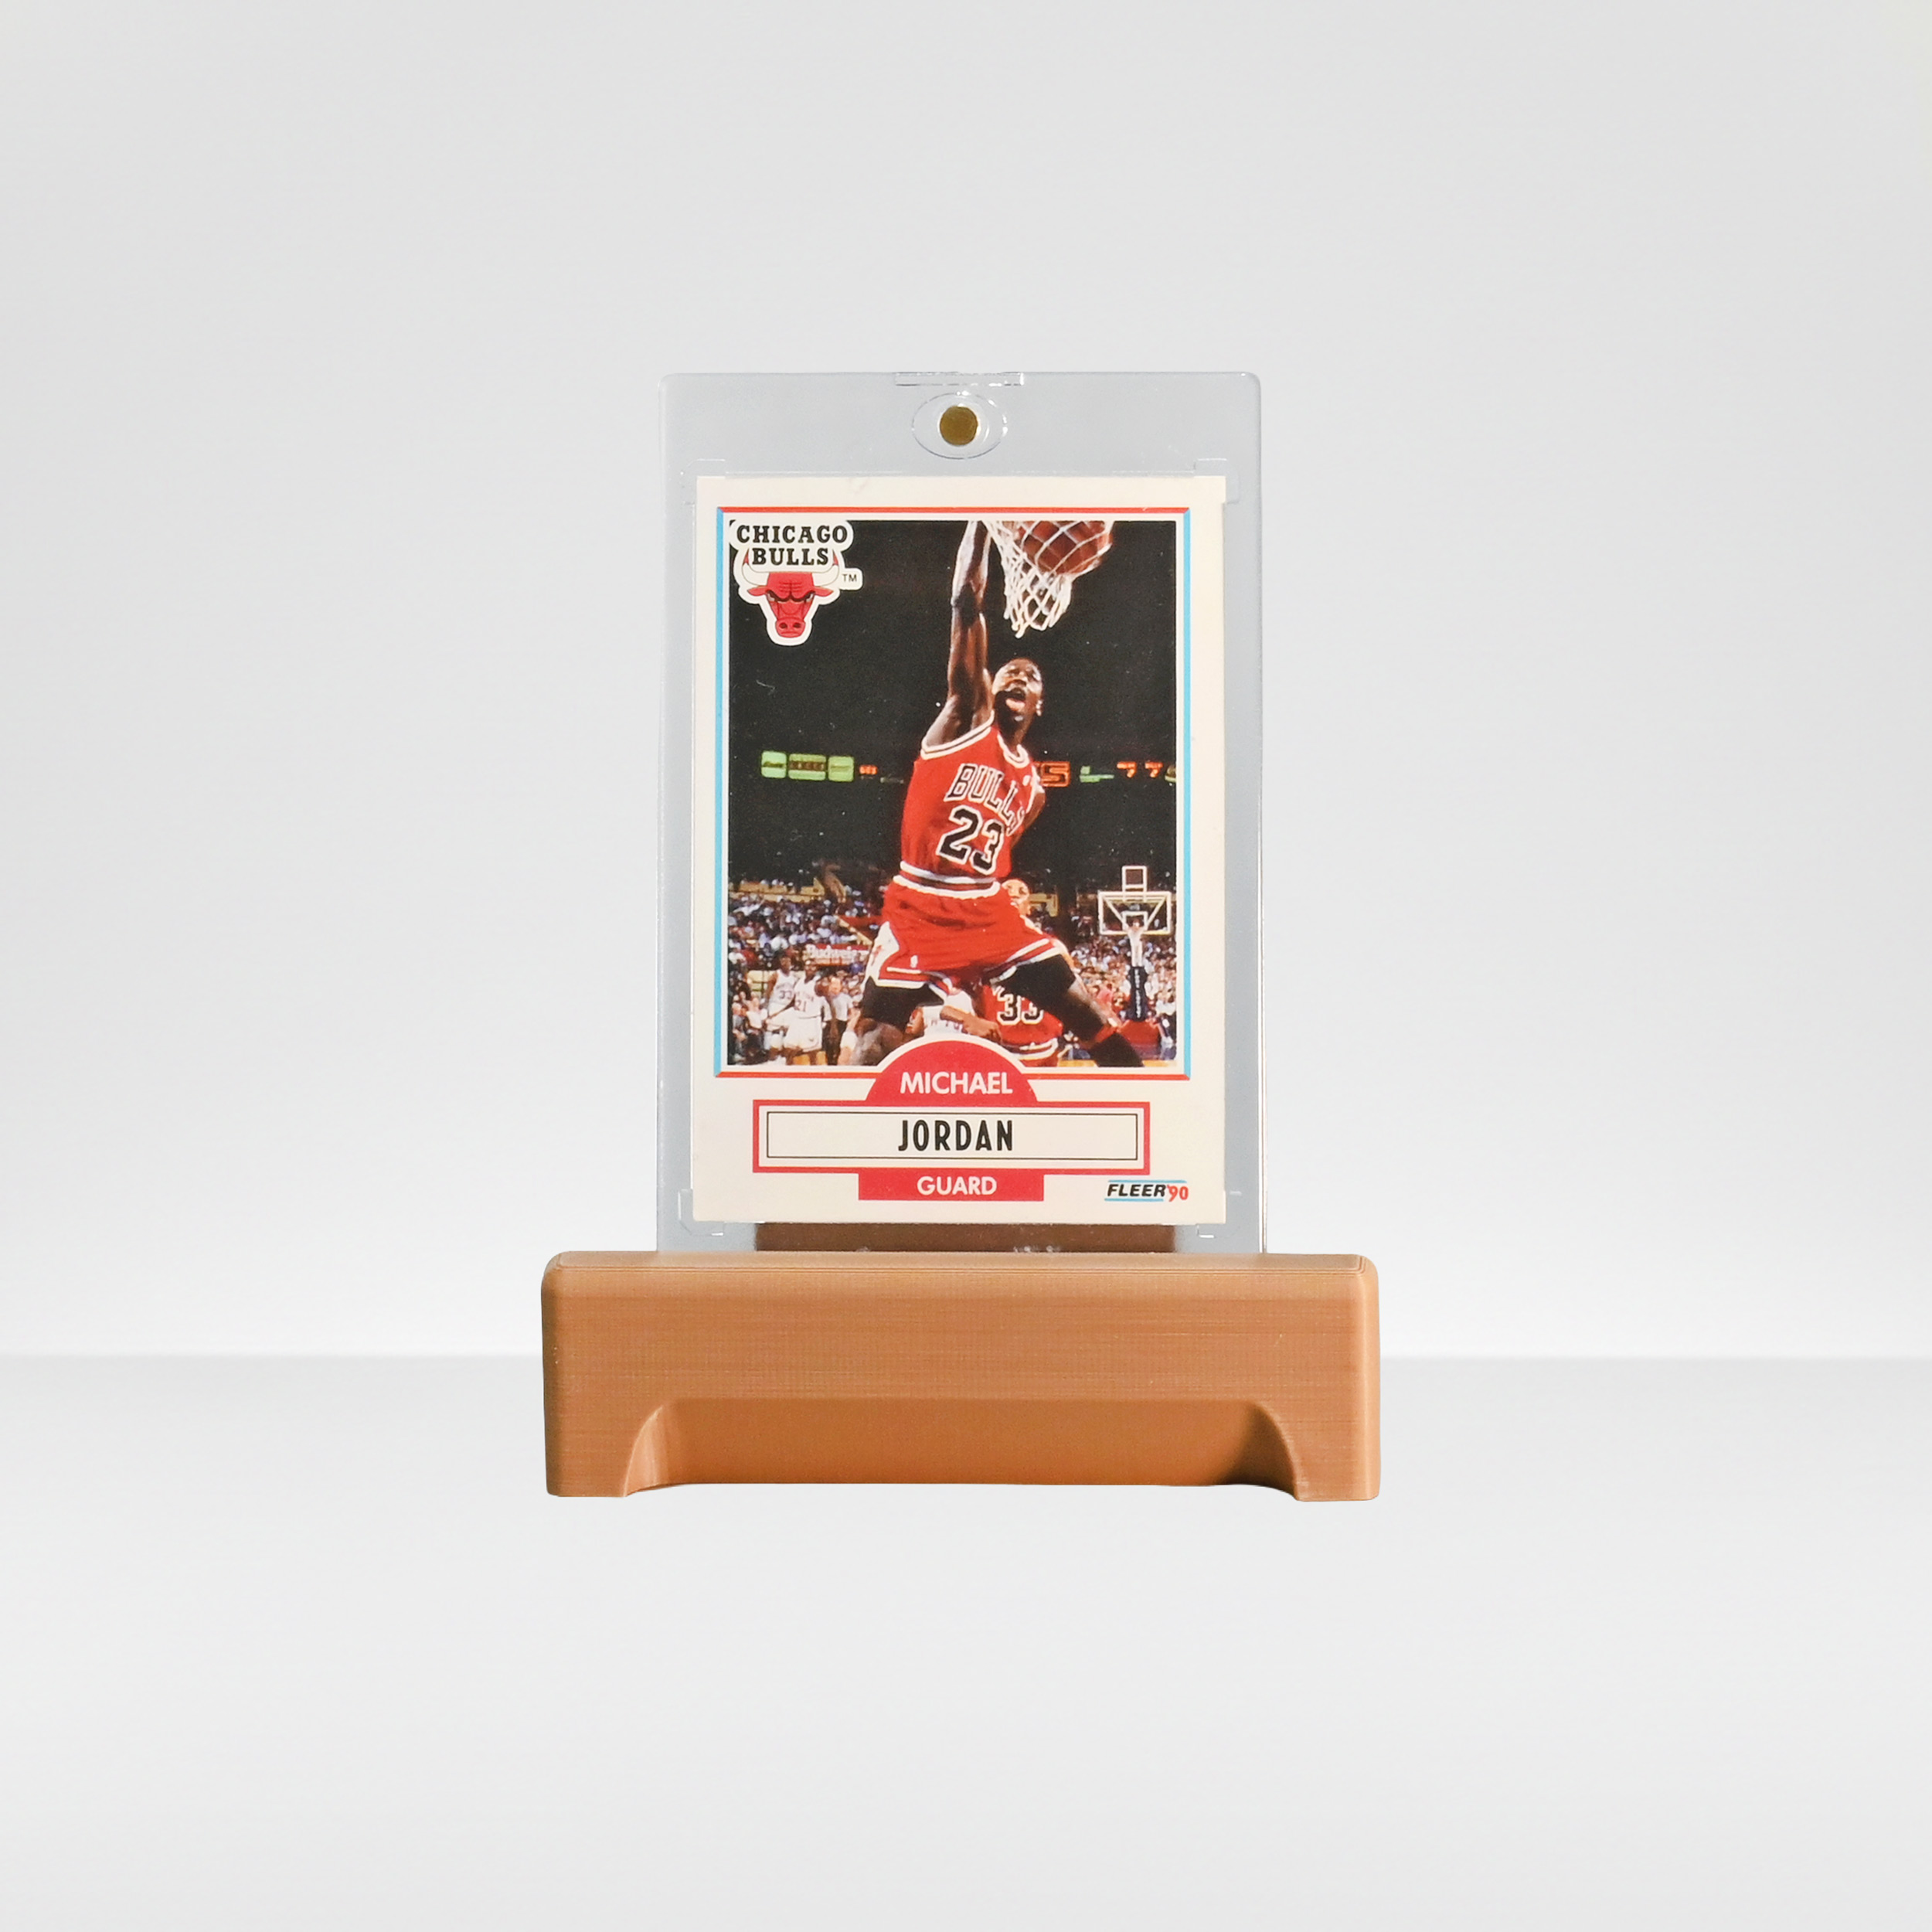
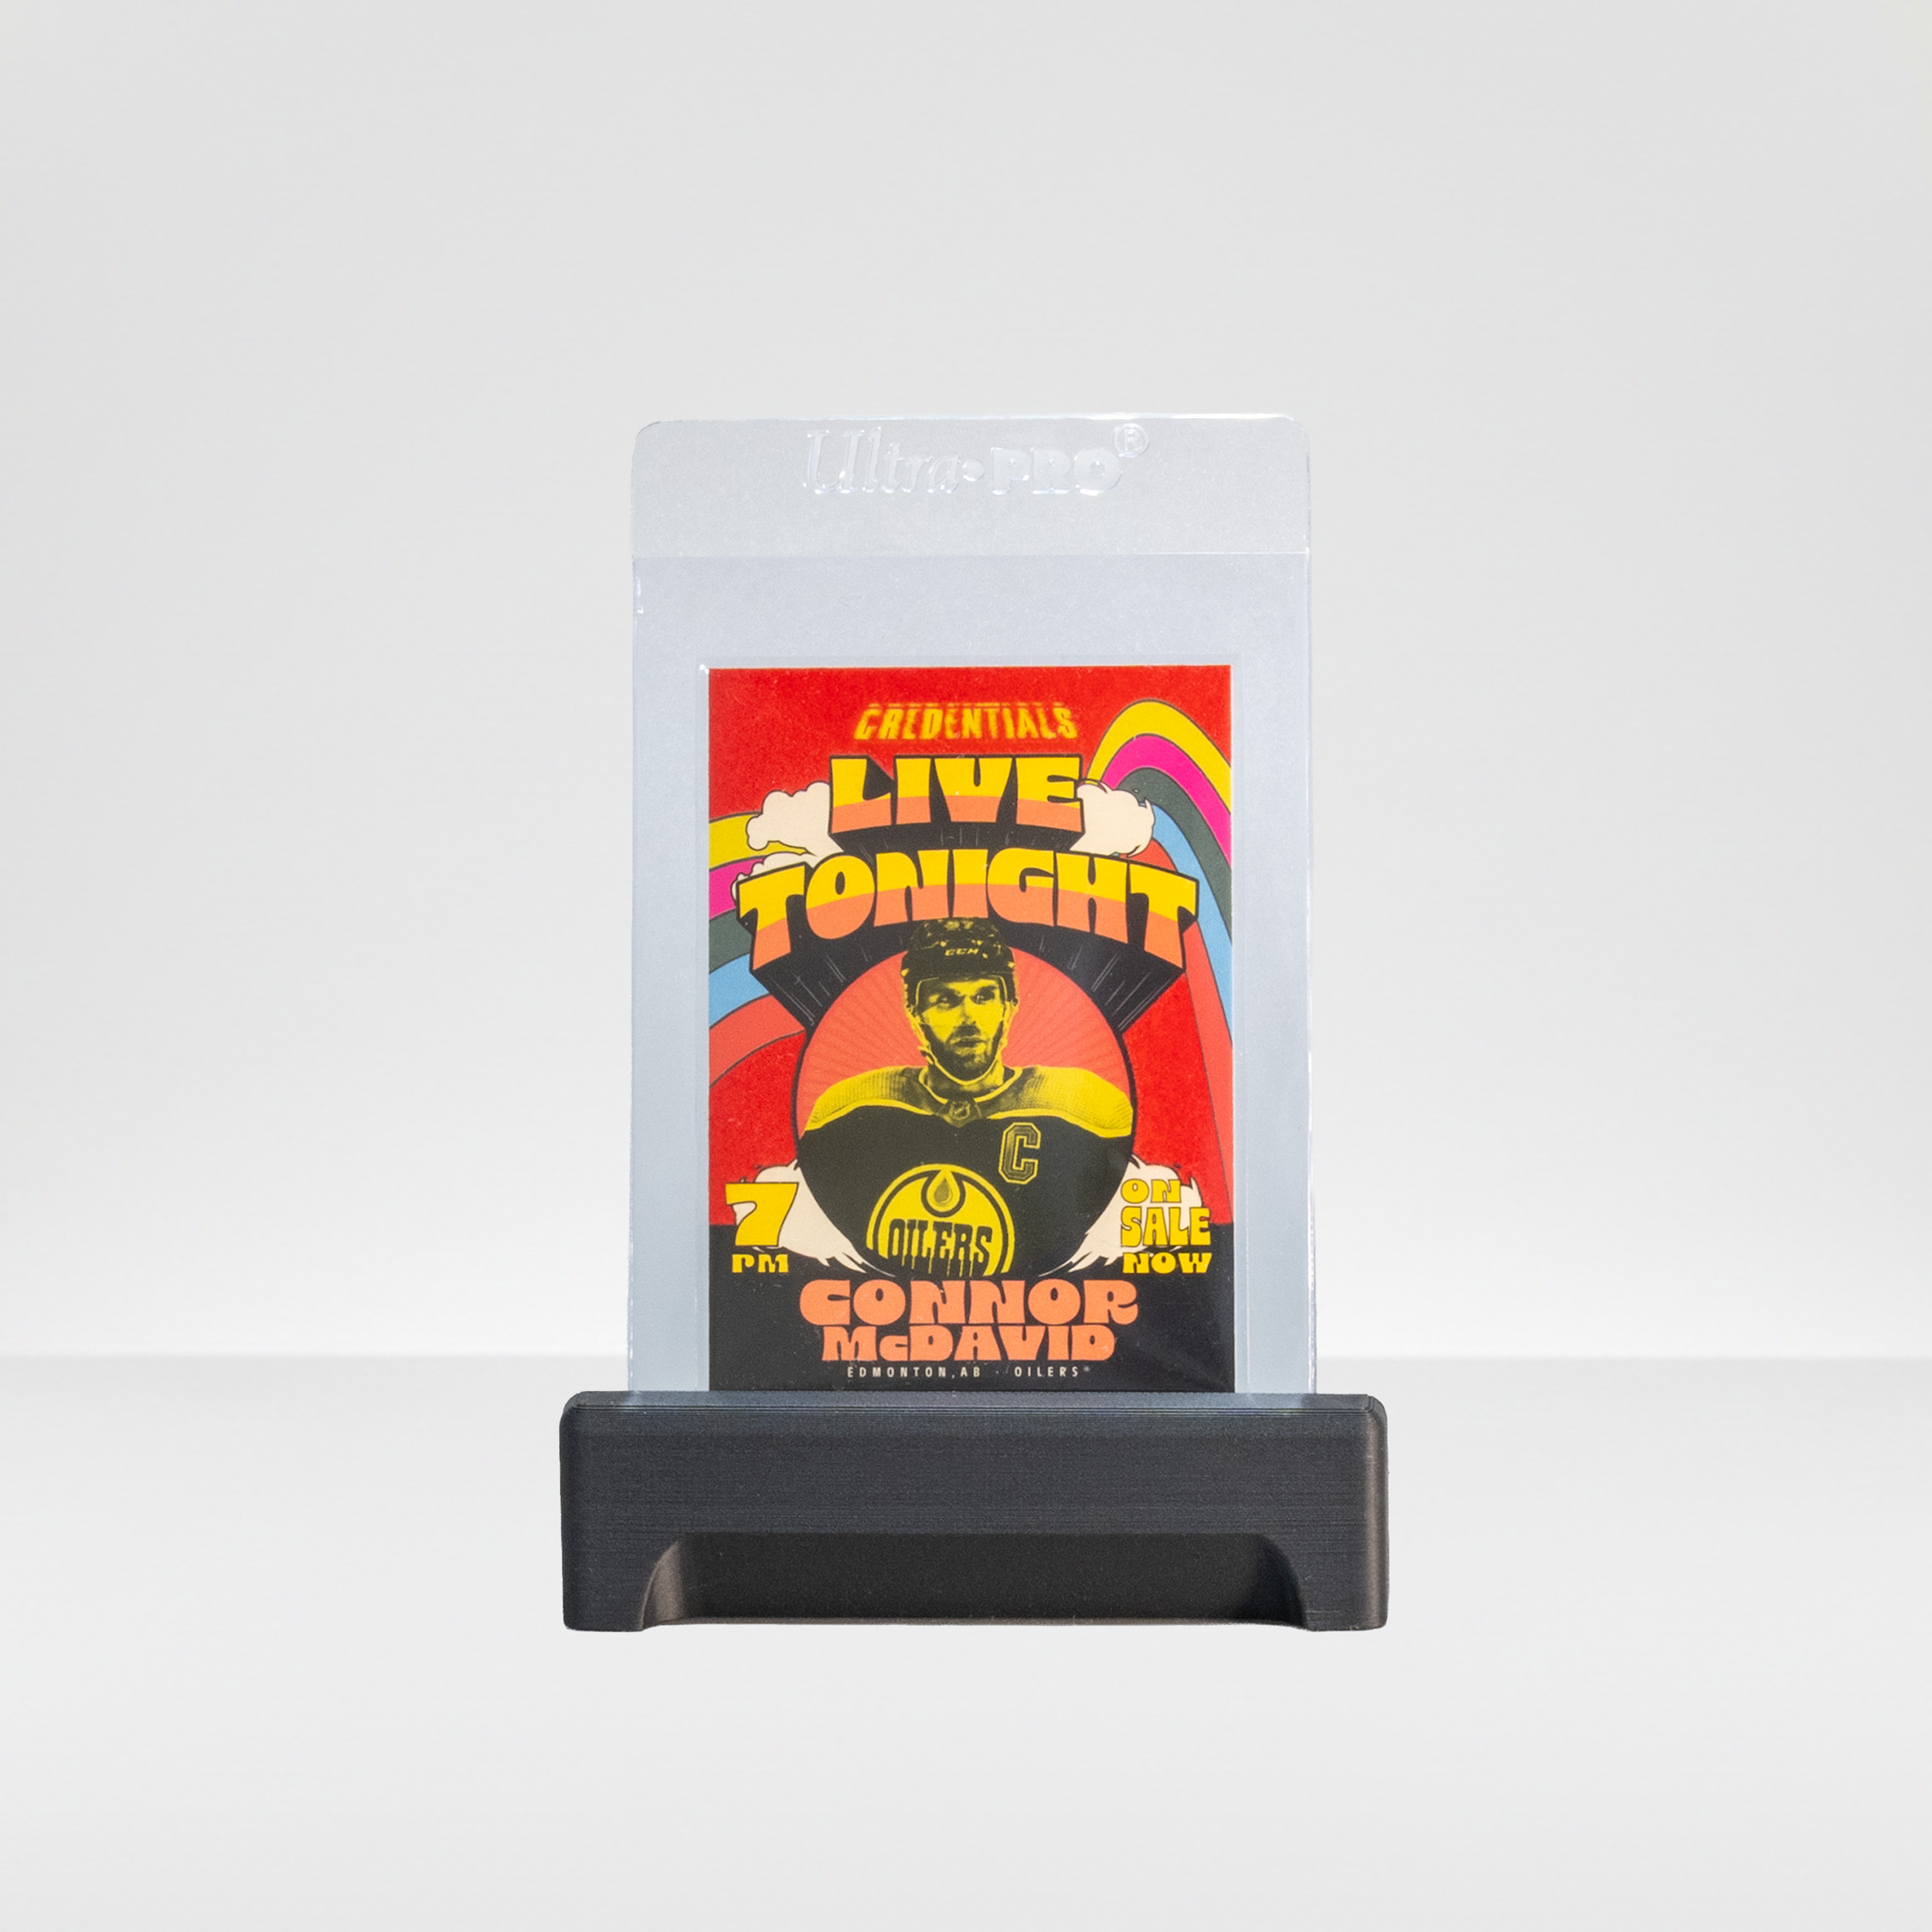
- Your Throne is now fully assembled. Place your card into the front slot. Adjust the back to desired thickness or viewing angle. You are now ready to go!